When it comes to reusing views, it involved creating a XIB file, extending the UIView class and overriding multiple initializers to load the NIB file programmatically. But with the introduction of container views and storyboard references , this process has been simplified and involves no coding.
The commencement of storyboard references enabled the developer to have multiple smaller storyboards. Which overcame the biggest drawback of using a storyboard file, which was complexity.
As most of the projects earlier contained only one storyboard, it became cumbersome for a large project.
Single storyboard made it impossible for a large team to work on the same storyboard without stepping on each others toes.
In this blog post, I’ll walk you through the steps on how to create slide out hamburger menu.
Getting Started
Reusing Storyboards:
Step 1: Create a single view application in Visual Studio

Step 2: Open the Main.storyboard file in Xcode.


Step 3: Add another view controller to the storyboard by dragging and dropping it from the menu.

Step 4:Create a customer Registration form by adding 3 Labels and 3 Text fields .
This would enable the user to enter Name, Password and Confirm the Password.
Step5: Embed them in a stack view.

Step 6 : Add constraints to stack view to make them horizontally and vertically center and set the text fields width constraint to 100.

Step 7: Increase the stack view spacing to 20 .

Step 8: Add a button to finish the registration.

Step 9 : Add another button to first view controller to navigate to the registration form view controller

Step 10: Add another View controller to Show success or error message through a label and navigate to it through the register button in registration view controller.


Step 12 : Name the new storyboard file
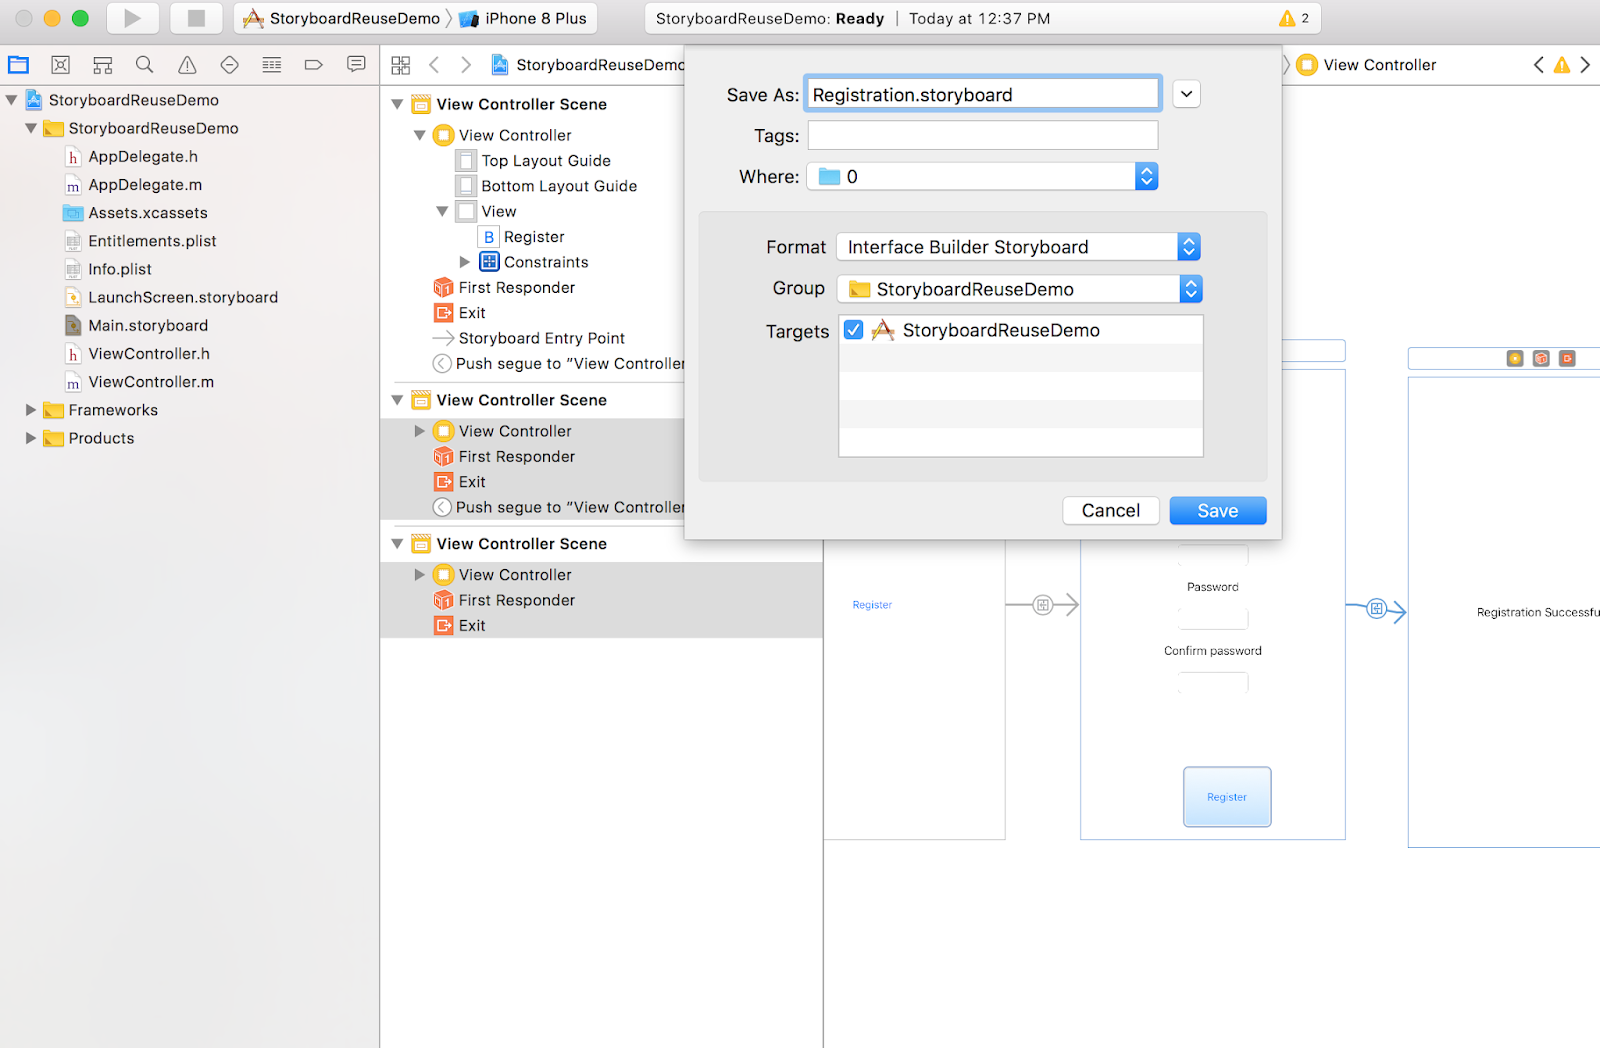
Step 13: Now you have 2 separate storyboard files interlinked to each other.If anywhere else in the flow you would need to show the user the registration flow , all you have to do link it to the story board reference.

Reusing Views :
Step 1:Add a container view to the view controller.


Step 3: To reuse the same view controller you can drag a new container view.

Step 4 : Delete the new container view's view controller.

Step 5: Link the new container view to the old customised view controller using embed segue.


I hope you enjoyed reading this blog ,please feel free to download the project file here.

